
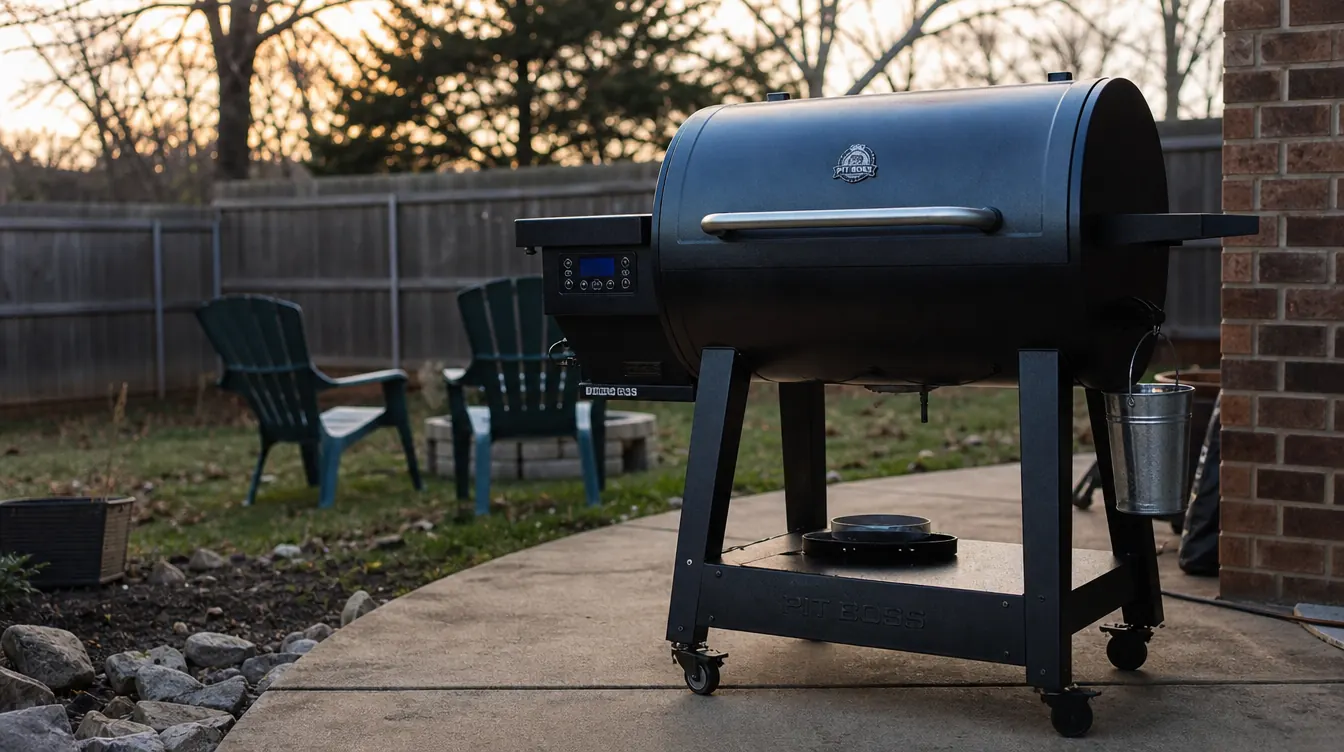
Grease is the one part of running a pellet grill nobody warns you about before you buy one. You get sold on flavor, on the way it holds a set temperature without you standing over it, on how easy it is to load a hopper and walk away. Nobody mentions that every cook sends a real amount of liquid fat down through the firepot area, and if you don't have a plan for where it goes, it ends up somewhere you didn't choose, on the patio, down the side of the grill body, in the ash tray, or all three at once. Left unmanaged long enough, pooled grease near a firepot is also just a bad idea, not a dramatic one, just a bad one, and it's the kind of thing that's easy to ignore right up until it isn't. I run a Traeger grease bucket on my mid-size pellet rig now, and this is the exact setup and routine that's kept a full season of weekend cookouts from turning into a grease problem.
None of this takes special skill. It's five steps, and once you've done them a couple of times you'll do the whole routine without thinking about it, the same way you check your propane or top off your pellet hopper before company shows up. If you want the quick-hit version of why this matters, I ran through ten reasons a grease bucket saves you from a nasty cleanup already. This is the step-by-step for actually setting one up and keeping it running right, week after week, without letting one of the small steps slide, especially the ones near the end that feel easy to skip when everyone's already sitting down to eat.
Tired of grease finding a new place to be a problem every weekend?
A proper bucket and liner setup routes drippings straight into a bag instead of letting them pool under your grill or run down the side of it. Check today's price on Amazon before your next cookout.
Amazon Check Today's Price on Amazon →Step 1: Match the Bucket and Liner to Your Grill
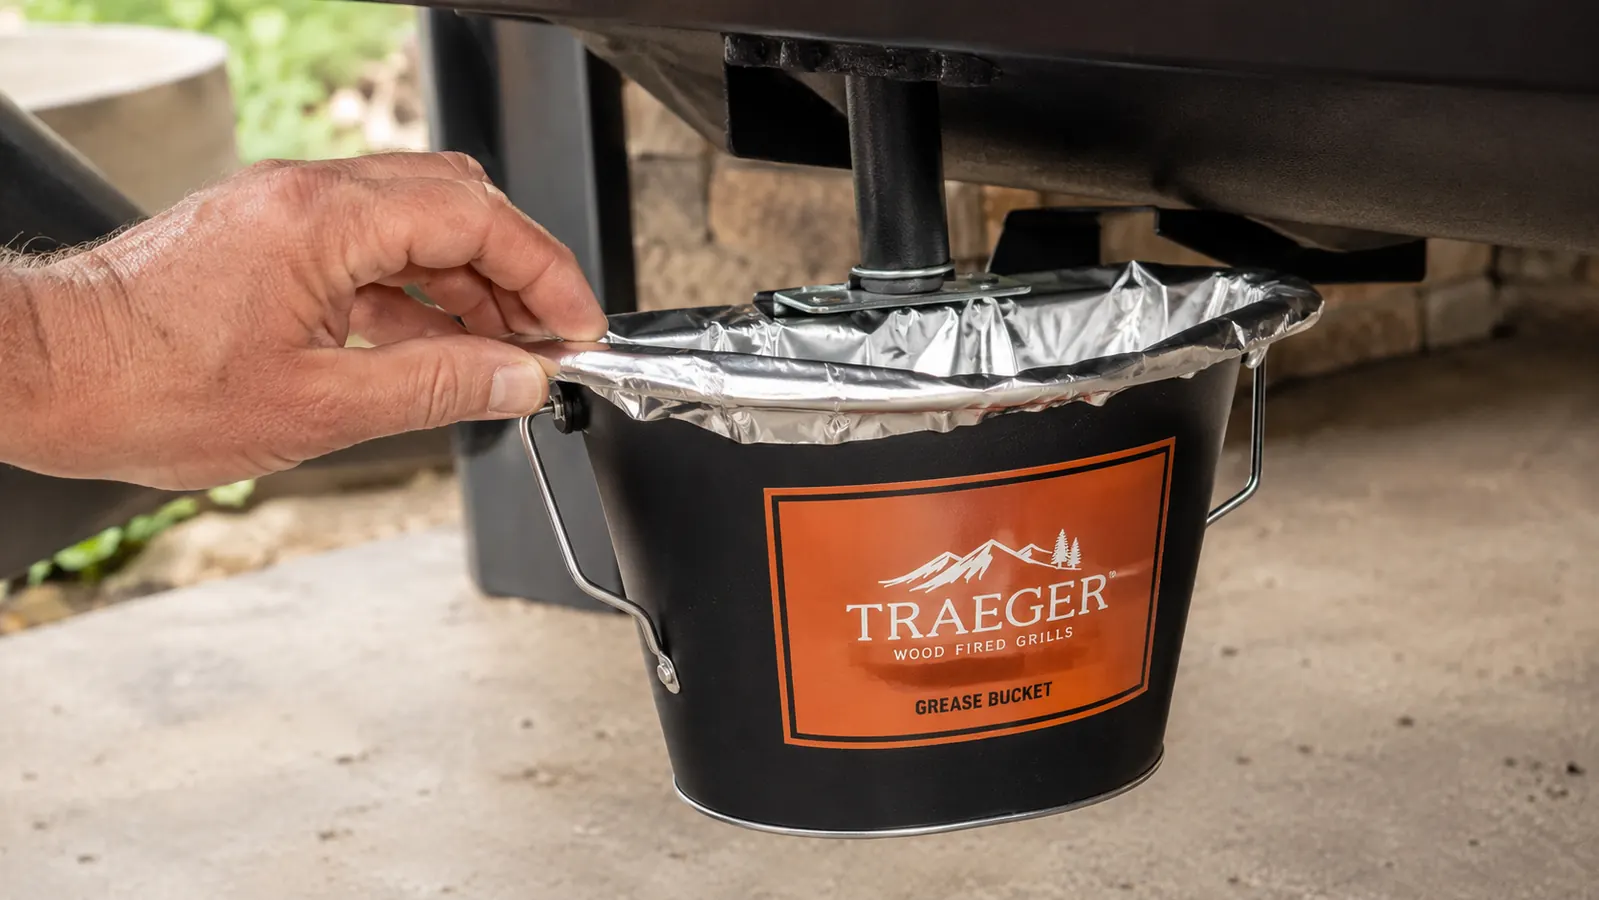
Before you mount anything, check how your grill actually routes grease. Most mid-size pellet rigs, including the Traeger I run, drop drippings through a tube on one side of the firepot down toward a bracket built for a small bucket. If your grill has that bracket, a properly sized bucket clips right on and you're most of the way there. If it doesn't, you can still run one on a hook or a small shelf near the drain point, you just need to confirm the tube clears the rim so grease lands inside the bucket and not beside it, and that the mounting hardware is rated to hold a full liner's weight without bending or working loose over a season.
Liner bags matter more than people expect. A bag that's too small tears loose from the rim halfway through a long cook and dumps grease straight into the bucket itself, which turns a two-minute liner swap back into a scrub job. I buy liners sized specifically for the bucket rather than grabbing whatever sandwich bag or grocery sack is closest, and the difference shows up the first time you pull a full one out in one motion instead of watching it split down the seam. It's a small cost that pays for itself the first weekend you're hosting a crowd.
Test the fit before your first real cook, not during it. Hook the bucket, drop a liner in, fold the edges over the rim the way you would if it were already half full, and give it a light tug. If it holds without slipping, you're set. If it slides loose with a gentle pull, it's going to fail under real weight, and you'll find that out at the worst possible moment, mid-cook with guests standing around the patio.
Step 2: Position the Bucket Where Grease Actually Falls
Placement sounds obvious until you watch where drippings actually travel on your specific grill. On mine, the drain tube angles slightly instead of dropping straight down, so the bucket has to sit a couple inches off-center from where you'd guess just by eyeballing the firepot door. Run one short test cook, a few burgers is plenty, and watch where the first drips land before you lock the bracket in permanently. It takes fifteen minutes and saves you from remounting hardware twice once you realize the bucket's been catching half the tube and missing the rest.
Level matters too. A bucket that hangs even slightly tilted lets grease pool against one side of the liner instead of settling evenly across the bottom, and an unevenly loaded liner is more likely to tear when you lift it. Check the bracket with a level, or just eyeball it against a straight edge on the grill body, and adjust the mounting hardware until the bucket hangs flat.
Keep it clear of the ash tray and any vents on that side of the grill. Grease and hot ash close together is a bad combination, and on a windier day at my place, embers have drifted farther than I expected. Give yourself a few inches of clearance between the bucket and anything that vents heat or ash, even if that means the bracket sits slightly forward of where the grill's factory hardware suggests. It's a five-minute adjustment the first time, and you won't have to think about it again after that.
Step 3: Check It Partway Through Long Cooks
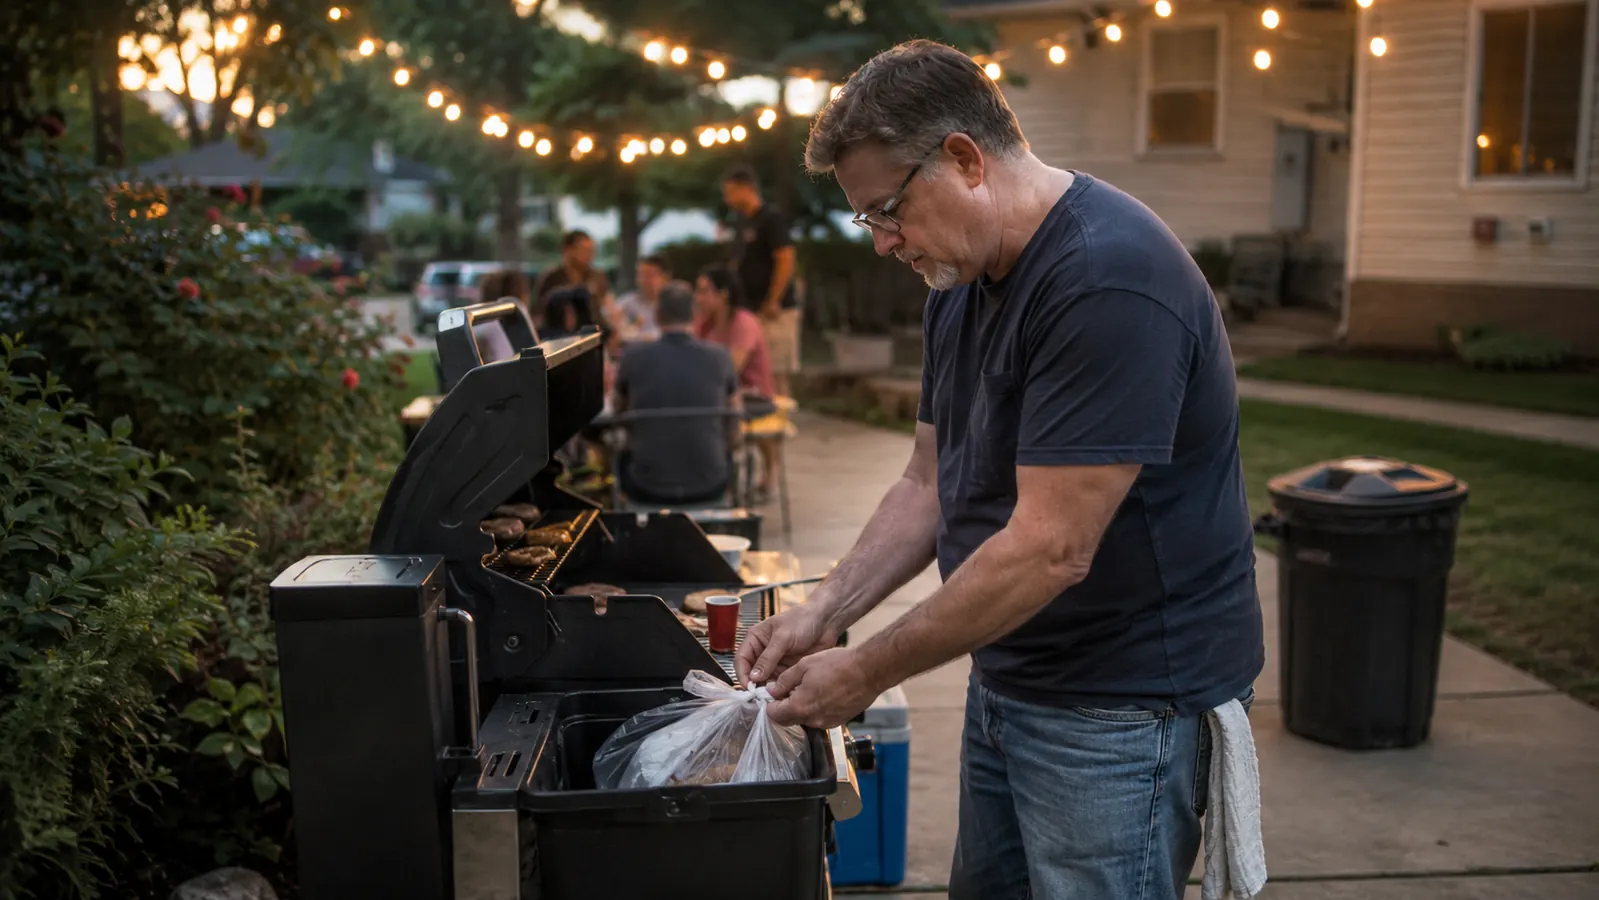
A quick cook, an hour or so for a few chicken thighs, isn't going to fill a Traeger-sized bucket no matter what you do. An overnight brisket or a low-and-slow pork butt is a different story. I check the liner around the halfway mark on anything running past four hours, just a glance through the kitchen window or a quick walk out to the patio, nothing that requires stopping the cook or opening the lid. It's become as automatic as checking the hopper level.
You're looking for two things: how full the liner is, and whether it's still hanging straight on the rim. A liner that's sagged to one side is close to slipping off entirely, and catching that at hour four beats catching it at hour nine when the bag finally lets go and you're cleaning grease off the patio at midnight instead of sleeping.
If it's more than half full partway through a long cook, swap it. It only takes a minute, and running a fresh liner for the second half of an overnight smoke means you're never gambling on whether the first one holds until morning. I'd rather waste one extra liner bag than wake up to a mess under a grill that's still smoking, especially on a night Owen's staying over waiting on brisket for breakfast.
Step 4: Pull and Tie Off the Liner When the Cook Ends
Let the grease cool for a few minutes before you touch the liner. Fresh off a long cook it's still hot enough to burn, and a bag full of hot liquid fat is not something you want to handle carelessly. Five or ten minutes while you're pulling food off the grates and getting plates out is usually enough for it to firm up without fully solidifying, which makes it easier to carry without the bag flexing and shifting in your hand.
Fold the top of the liner in on itself a couple of times before you tie it off, the same way you'd close a bag before hauling it to the curb. A simple overhand knot works fine. What doesn't work is just lifting the bag out by the edges and hoping gravity stays out of it on the walk to the trash can.
Drop it straight into an outdoor trash can with a lid, not the kitchen bin. Grease left sitting in a garage, or in a can that isn't sealed tight, has drawn more raccoons and stray cats to yards on my street than I can count, and Gil next door still hasn't quite forgiven the one that got into his.
Step 5: Clean and Prep for the Next Cook
Once the liner's out, wipe the inside of the bucket with a paper towel if there's any residue left behind, which there usually isn't if the liner held. A dry bucket is ready for the next liner immediately, no soap or hose needed most weekends. Save the actual washing for once a month or so, warm water and dish soap, just to keep any smell from building up over a season of use, especially once the weather warms back up.
Check the bracket and hardware while you're at it. Mine gets a light coat of grease residue over time even with a liner catching everything, and a quick wipe keeps the mounting points from getting slick or starting to rust once the weather turns. It takes thirty seconds and it's the kind of maintenance that's easy to skip until the bracket seizes up on you and needs to be forced loose with a wrench.
Drop a fresh liner in before you put the grill away, not the next time you fire it up. I learned that one the hard way, standing in the driveway digging through a drawer for liner bags while Renata's family stood around waiting on the first round of burgers. A grill that's ready to cook the second you turn it on is worth the ten seconds it takes to reload.
What Else Helps
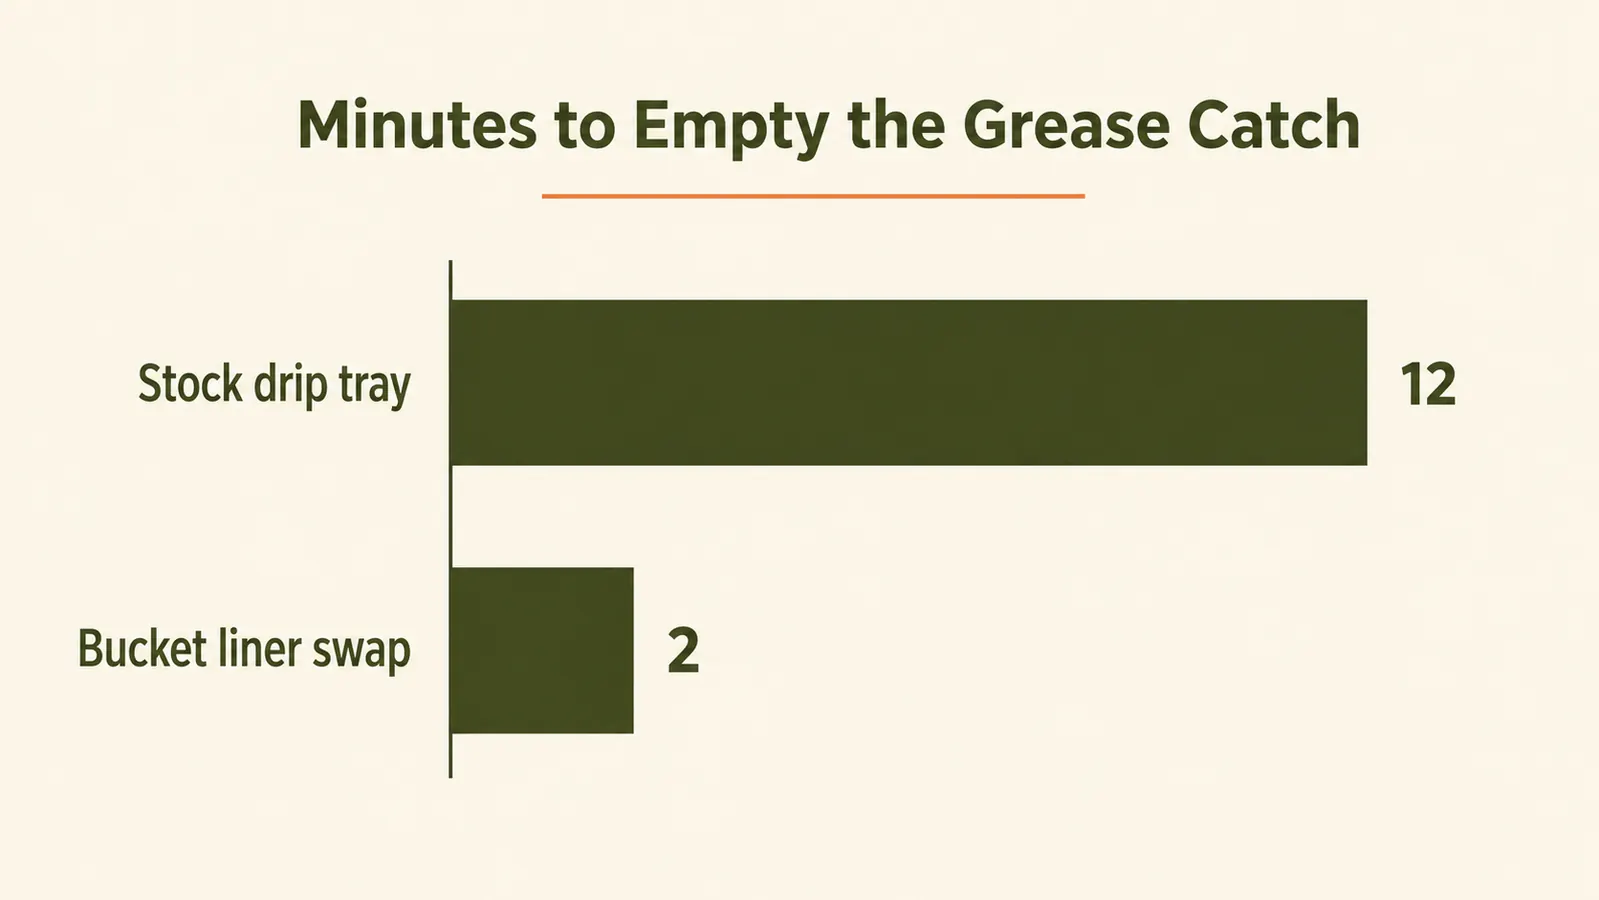
A grease bucket handles the drippings, but a few habits around it make the whole system hold up better over a season. Keep an extra box of liner bags in whatever drawer or bin lives closest to the grill, not in the garage where you'll forget they exist until you actually need one mid-cook. Wipe down the area under the bracket every few weeks even when nothing's spilled, because a little residue builds up slowly and it's easier to catch early than to scrub out later. Rinse the outdoor trash can itself every so often too, since grease liners have a way of leaving a smell behind that outlasts the bag, and it's a cheap habit that keeps the whole setup from turning into something guests notice on their way to the driveway. And if you're still running a stock drip tray and wondering whether switching over is worth the trouble, I laid out exactly what changed for me in my year-long review of the Traeger grease bucket, and I put it head to head against the cheapest fallback option in this comparison against a foil catch pan.
Catching a half-full liner at hour four beats catching a torn one at hour nine, when the bag's already let go and you're the one cleaning it up at midnight.
Set it up once, forget about grease for the rest of the season.
The bucket and liner routine above is the whole system I run every weekend on my pellet rig. Check today's price on the Traeger HDW152 before your next long cook.
Amazon Check Today's Price on Amazon →